

An IP67 LED power supply can be a candidate for an outdoor sign, but its enclosure rating does not qualify the complete installation. Define the site’s rain, cleaning, pooling, condensation, temperature, and corrosion exposure. Then check the exact driver’s installation restrictions, cable exits, connectors, junction boxes, thermal limits, and applicable system requirements. Select the power product and the surrounding assembly together, using evidence for the installed configuration rather than the IP marking alone.

جدول المحتويات
Define what the IP67 marking covers
The IP code classifies enclosure protection. IEC 60529 is the underlying standard for degrees of protection provided by enclosures. In IP67, the first numeral refers to dust-tight protection and the second to temporary immersion under specified test conditions, as summarized in the referenced IP-coding table. It is not a general statement that every outdoor exposure or electrical assembly is covered.
Water jets and immersion are different tests. The external explanation of multiple IP designations distinguishes spray, immersion, and high-pressure cleaning requirements. Do not assume that an immersion designation alone establishes the required jet-cleaning performance.
Identify the tested boundary: the driver body, its cable exits, an assembled connector, or a larger enclosure. A rating on the driver body does not automatically extend across a field splice. A connector’s stated protection may depend on mating, a protective cap, the cable diameter, and correct assembly. Retain those conditions with the installation drawing.
An IP designation also does not establish UV durability, salt resistance, surge immunity, or suitability for a particular regulatory market. Specify each relevant requirement separately and request evidence for the exact product or finished assembly.
Original photograph: housing and cable exits

Specify outdoor conditions for the LED sign power supply
A sheltered sign with an accessible dry service compartment presents a different problem from a sealed letter housing exposed to direct rain. A rooftop position may experience solar heating and wind-driven water, while a low mounting location may collect runoff or cleaning water. Describe these conditions before comparing supply models.
| Exposure | Define in the project | Evidence or design response to assess |
|---|---|---|
| Rain and runoff | Direct exposure, direction, pooling locations and service openings | Applicable enclosure protection and installation restrictions |
| Cleaning | Spray pressure, distance, temperature and cleaning chemicals | Coverage for the actual method; access and cleaning procedure |
| Day/night temperature cycles | Local air and surface temperatures, shutdown periods, humidity | Condensation assessment and compatible enclosure measures |
| Solar and internal heat | Driver compartment temperature, adjacent heat sources, mounting surface | Model-specific thermal limits and installed temperature validation |
| Cables and connections | Connector state, gland range, routing, strain and replacement access | Documented assembly conditions and suitable junction protection |
| Coastal or chemical exposure | Salt, airborne contaminants and cleaning agents | Material and corrosion evidence beyond the IP code |
If maintenance personnel use pressure washing, state that explicitly. Changing a cleaning method after commissioning can change the required protection even though the sign and driver have not changed.
Qualify the cable and junction system around the driver
Trace each connection from the AC supply to the driver and from the driver to the LED branches. Identify where the environmental boundary crosses a cable exit, gland, connector, splice, or enclosure wall. Use connector and gland instructions for the specified cable and assembly, including any mating, sealing, strain-relief, and torque conditions.
Concept overview
Exact model and enclosure rating
Specified connection and sealing
Installed assembly qualification
Put the connection layout on the installation drawing, with four practical checks:
- Shed cable runoff. Where permitted by the cable and equipment instructions, form a downward drip loop before exposed AC or DC cable entries. Keep the low point below the entry so runoff falls away, while retaining the specified bend radius.
- Avoid the pooling zone. Identify where water can collect at the bottom of the sign. Fix the driver and junction boxes above that zone, with their cable entries and service joints protected from expected runoff.
- Support the cable. Use the specified clamps or strain relief so cable weight, wind movement, and servicing loads do not pull on a sealed exit or connector.
- Keep joints accessible. Use the specified gland, connector, or junction enclosure for the cable diameter and exposure. Provide the required cap or other protection when a connector is unmated during service.
ال referenced lighting-equipment installation guide, section 3.1, provides a manufacturer example of AC/DC drip loops, cable support, and wet-rated junction fittings. The MEAN WELL LED installation manual likewise specifies connection, ventilation, and water-exposure restrictions for its products. For a WEHO candidate, obtain the corresponding model instructions to set the allowed orientation, cable arrangement, and clearances.
Complete the electrical design in parallel: conductor capacity, protective earth where required, branch protection, and the site’s surge strategy. The DC voltage budget helps assess longer sign branches; environmental protection does not remove conductor losses or the need to meet the module’s voltage limits.
Worked example: a sealed driver still adds compartment heat
Consider a hypothetical sign whose LED loads receive 180 W continuously. Assume a candidate driver’s efficiency is 90% at the actual input voltage, output load, and operating temperature. The LED modules are outside the driver compartment, so this calculation includes only the driver’s conversion loss inside that compartment.

- Driver input power: 180 W ÷ 0.90 = 200 W
- Driver conversion loss: 200 W − 180 W = 20 W
The compartment must reject those 20 W, plus heat from other devices inside it and environmental heat gain. Its temperature also depends on the enclosure’s heat-transfer conditions; watts alone do not determine the result.
Check the driver’s permitted ambient or case temperature as defined in its documentation, the designated measurement location, mounting orientation, clearances, and derating. Weather-station air temperature is not necessarily the air temperature next to a driver behind a sunlit sign face. Follow the thermal and mounting derating method when determining available continuous output.
Prefer a sheltered position that reduces solar heat while preserving the specified cooling path and access. In a sun-exposed sign, measure the proposed mounting surface as well as local air: a hot metal back wall can add heat to the driver. Use the model’s intended heat-transfer arrangement; do not assume that either flush mounting or an air gap is always correct. Validate the closed assembly at the relevant continuous operating state. Changes to ventilation or potting require a new assessment of both heat flow and ingress protection.
Assess condensation separately from external water ingress
A compartment can contain moisture without rain entering through a visible opening. Temperature changes, trapped humid air, and cooler surfaces can produce condensation. Assess whether a surface can cool to the local air’s dew point. Record local air conditions and relevant surface temperatures across the operating cycle rather than relying on one daytime humidity reading.
Discuss the relevant mitigation with the enclosure designer: location, drainage, pressure equalization, controlled heating, or another suitable approach. None is a universal modification for an already rated assembly. Use measures compatible with the enclosure design, driver instructions, and required protection, and check their behavior during power-off periods.
Place service joints where they can be inspected without dismantling an entire sign. Specify how seals, caps, and damaged cables are replaced and how the correct installed configuration is restored. Water staining or condensation should lead to investigation of the assembly and its exposure, rather than an assumption that fitting a higher-wattage driver will resolve the cause.
Keep one qualification record for the complete sign assembly
Record the driver model and revision, enclosure drawing, cable and connector part numbers, mounting arrangement, input conditions, LED demand, and defined exposure. Ask the system designer or appropriate test provider to establish the relevant ingress, thermal, electrical, and market-compliance evaluation for that assembly. Keep pass/fail limits and test conditions with the results.
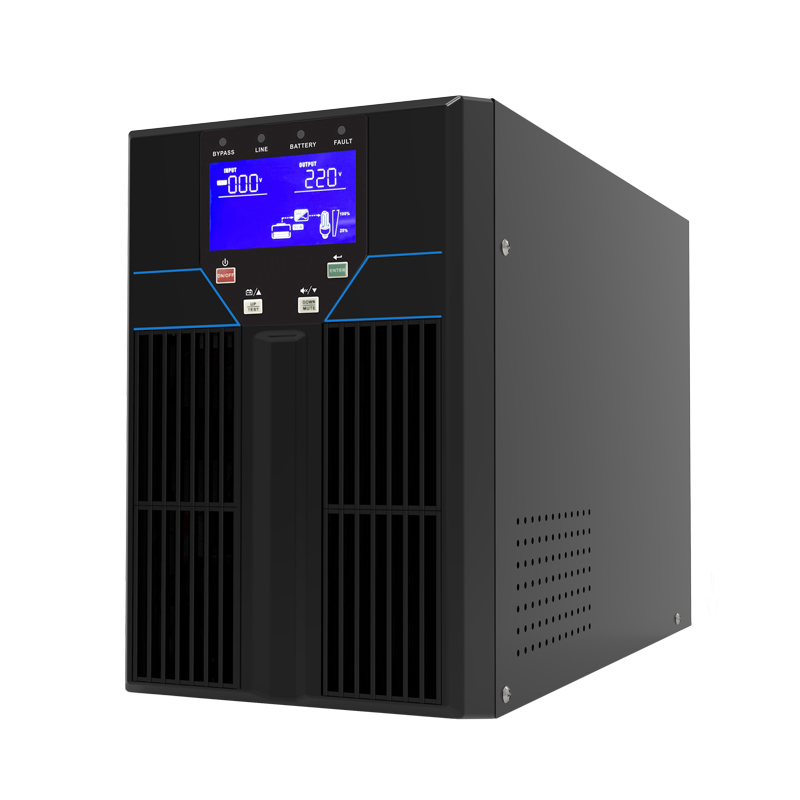
The HLG-200 product and specification links above identify the pictured example; its suitability still depends on the exact model and installation. Request the candidate’s current environmental and installation documents with the electrical specification, then review the driver together with its mounting and connection layout.
The useful purchasing outcome is a defined candidate and an installation configuration that can be evaluated together. Use the OEM RFQ checklist to request matching documentation and keep later material or mechanical changes visible.
Contact WEHO about an outdoor-sign driver candidate. Send the sign’s LED voltage and load, proposed driver location, and a sketch or photo of the exposure. Complete the cable, enclosure and temperature record during sample evaluation.
Optional project record: Download the outdoor-sign installation record (CSV). Use it to record your own inputs and evidence; example entries are illustrative.