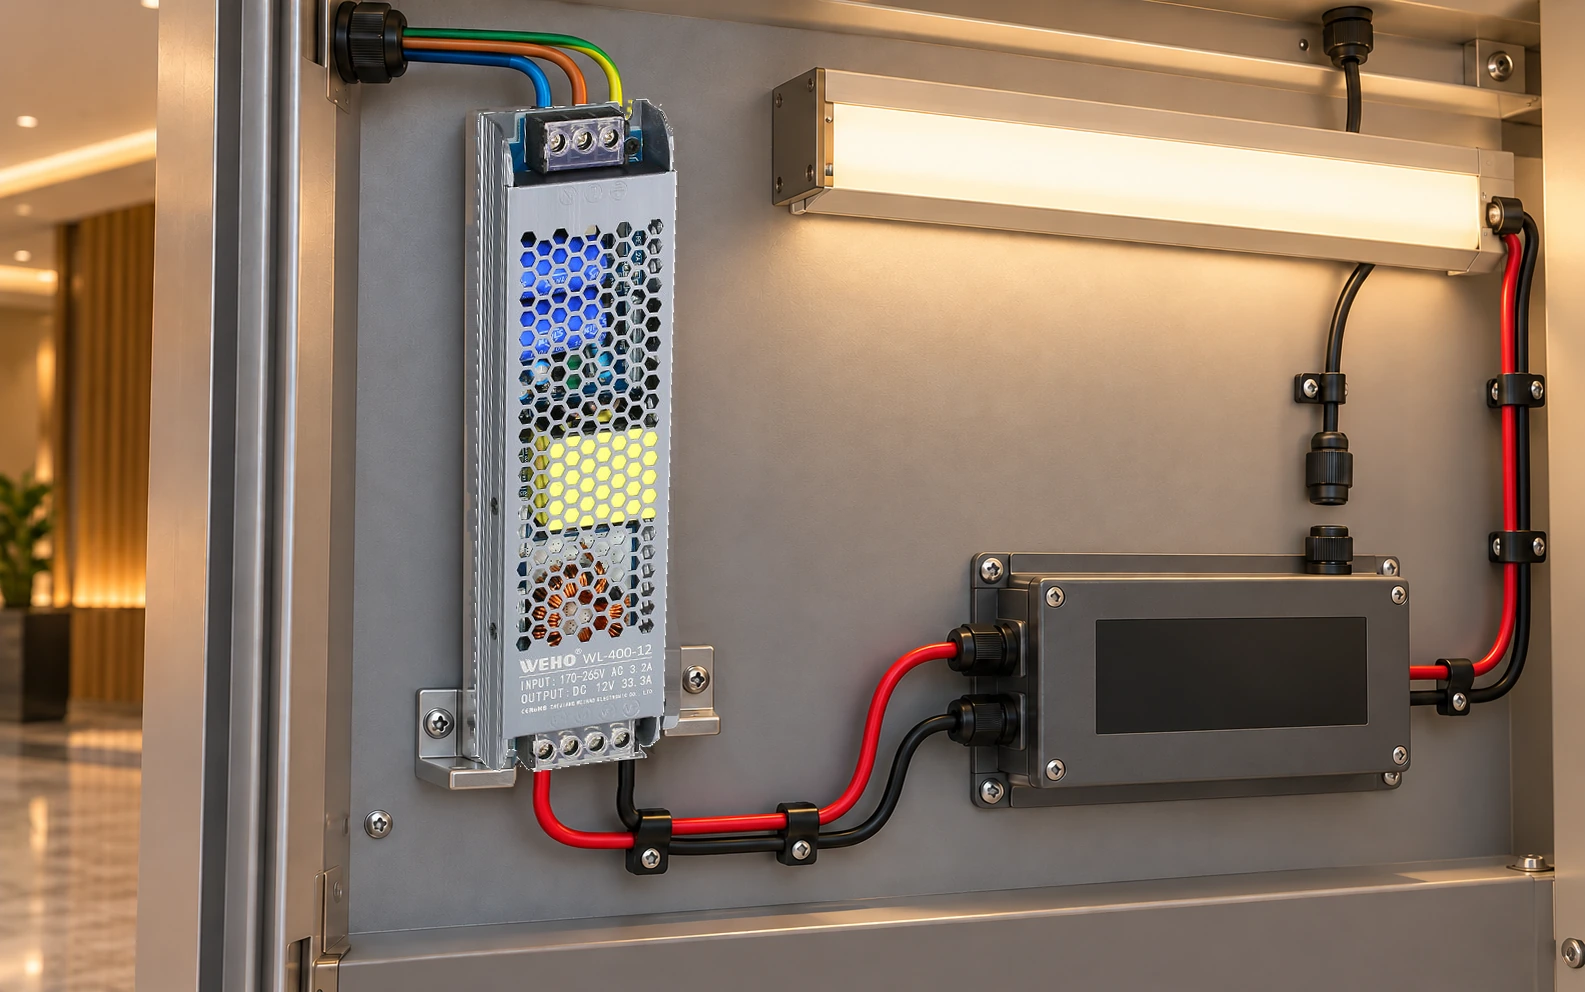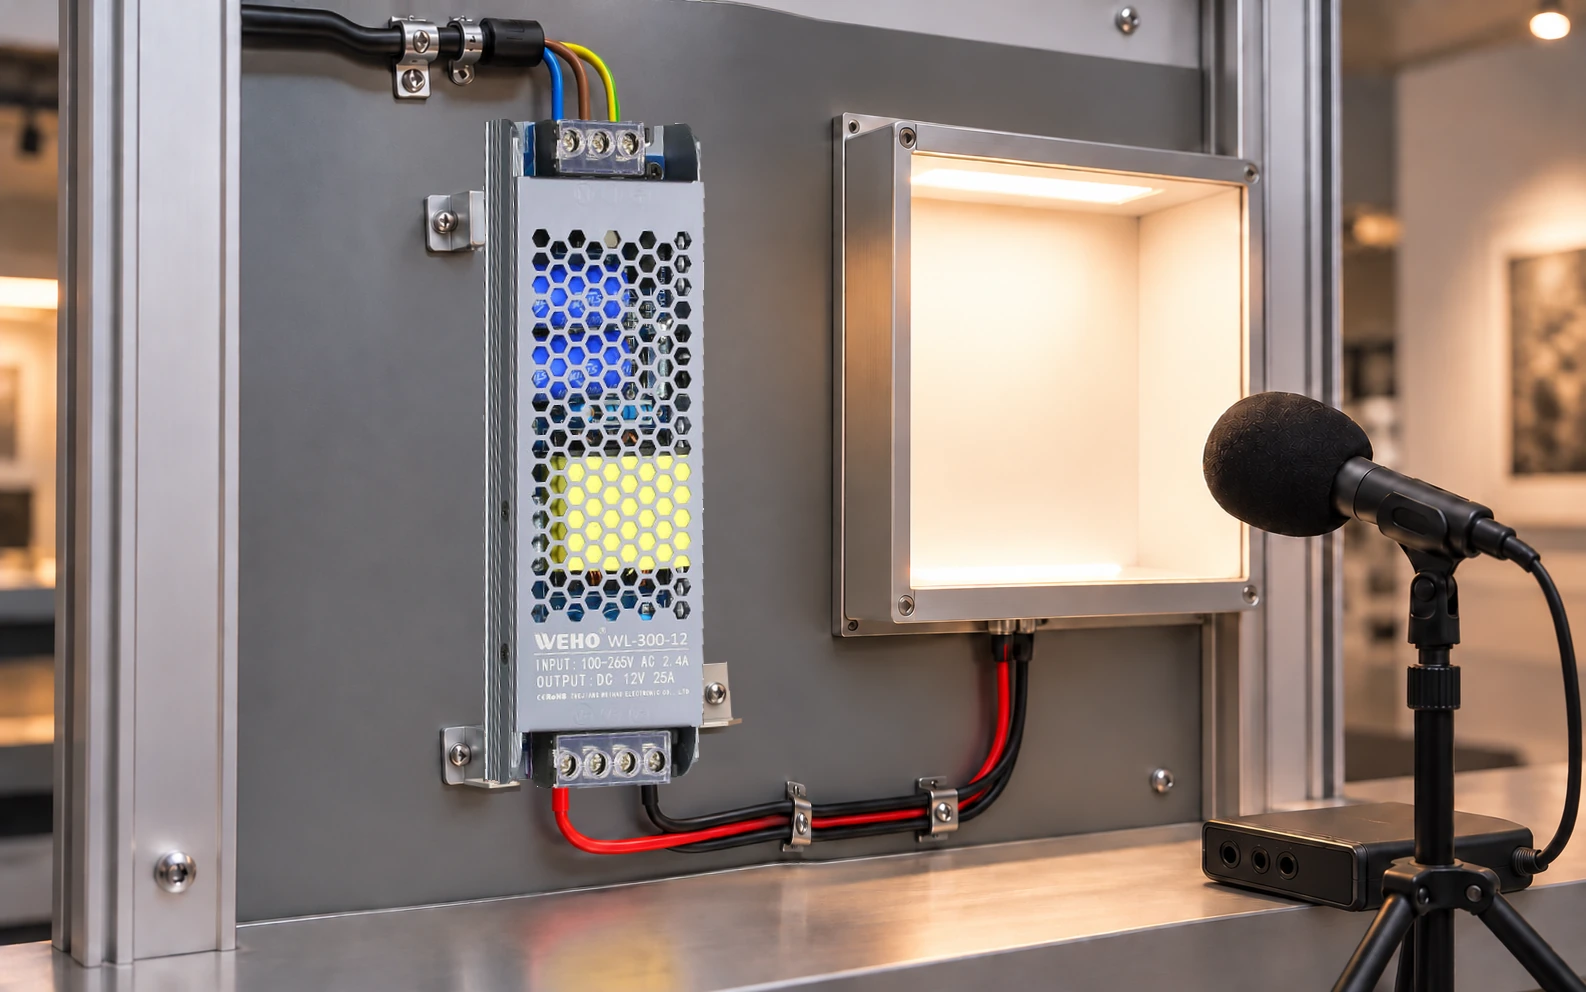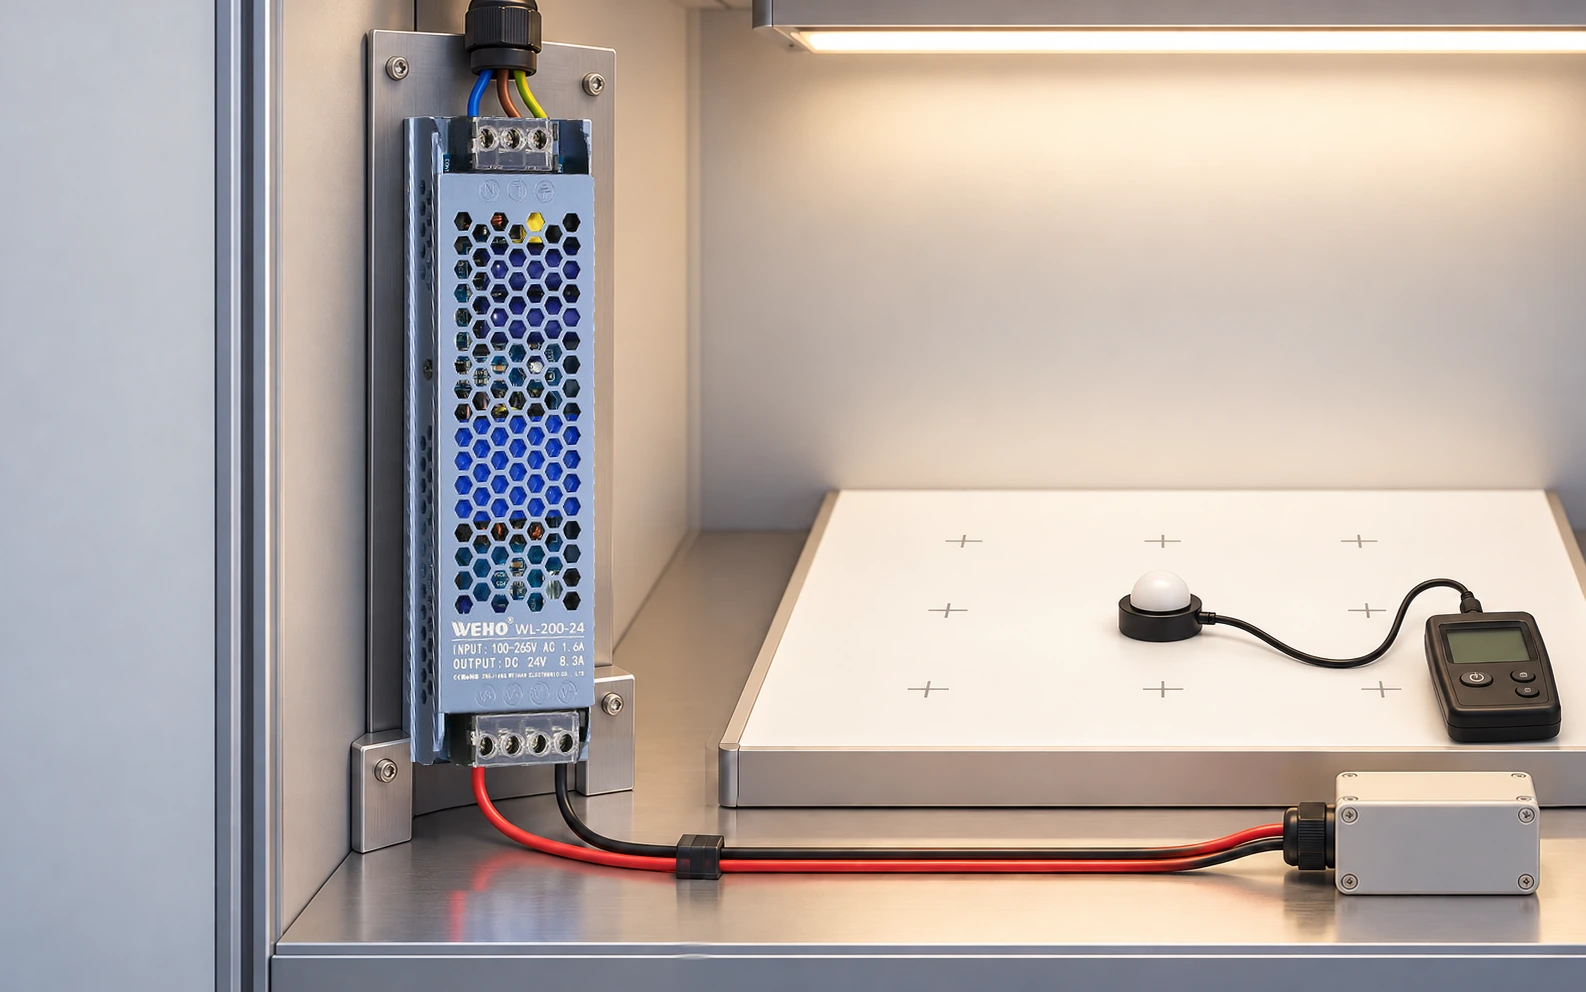


Choose a constant-voltage (CV) LED power supply when the finished module specifies a fixed DC input and includes its own current control. Choose a constant-current (CC) LED driver when the LED assembly specifies a drive current and a forward-voltage range. For OEM selection, match the complete operating envelope: current, hot and cold string voltage, cable drop, power, and dimming behavior. A matching wattage or a “24 V LED driver” label alone does not establish compatibility.

فهرست مطالب
Identify the electrical input of the finished LED assembly
Start with the LED module specification and circuit boundary. A bare LED string and a lighting module containing resistors or an electronic regulator can require different sources even when both are described as “LED modules.” Ask which component controls LED current in the proposed design.
A constant-current driver regulates current while allowing its output voltage to move within a specified operating region. A constant-voltage supply regulates voltage; the compatible downstream circuit determines its current demand. This makes fixed-voltage distribution practical for suitable sign modules, while a direct-drive LED board may require a specified current instead.
Concept overview
Review a constant-voltage source
Review a constant-current driver
| Load documentation | Candidate output behavior | First compatibility check |
|---|---|---|
| Fixed input voltage and maximum input current or power | Constant voltage | Supply tolerance and distribution drop remain inside the module input limits |
| Required LED current and forward-voltage limits | Constant current | Driver current matches, and the complete voltage envelope fits its regulation window |
| Internal current regulator supplied from a DC bus | Usually a specified constant-voltage bus | Regulator input range, startup threshold, and required headroom |
| Only a wattage or marketing voltage | Insufficient information | Obtain the module electrical specification before choosing the source |
The distinction between direct LED drive and a downstream driver IC is also explained in the MEAN WELL LED application FAQ. Use the finished load’s circuit and specification to decide which arrangement applies.
For constant current, check both ends of the voltage window
A driver marked 700 mA still needs a usable output-voltage window at that current. The highest required voltage must fit below the window’s upper limit. The lowest required voltage must remain above its lower limit. Also check the permitted current tolerance and the power limit under the actual input and temperature conditions.
Use the LED supplier’s voltage limits for the chosen current, temperature range, and production bins. The referenced LED thermal-management note explains that forward voltage changes with junction temperature and that the driver must accommodate the resulting operating-voltage range. A room-temperature typical voltage is therefore a poor production acceptance boundary.
For a series string, add the individual LED voltages. Add the cable and connection drop to find the voltage required at the driver’s output terminals. Evaluate the lowest combination separately from the highest; the greatest cable drop does not apply automatically to both limits. If the manufacturer supplies a current-versus-voltage operating-area diagram, check the proposed operating points inside that area rather than treating every pair of headline maxima as simultaneously available. Once a constant-current architecture is required, use the full LED driver output-voltage window and open-circuit review for the detailed voltage-envelope check. This guide establishes the load’s constant-current or constant-voltage architecture.
Do not interpret overload current limiting as a qualified LED regulation mode. Likewise, “CV+CC” requires reading the actual operating characteristic and tolerances. A protective constant-current region can differ from the region intended for continuous LED operation.
Worked example: enough watts, but the wrong lower limit
This hypothetical OEM example uses ten series LEDs at 700 mA. Assume the LED board specification bounds each LED at 2.8–3.4 V across the selected temperature range and production bins. Assume total connection and cable drop ranges from 0 to 0.6 V.

- Minimum required output voltage: 10 × 2.8 V + 0 V = 28.0 V
- Maximum required output voltage: 10 × 3.4 V + 0.6 V = 34.6 V
- Maximum calculated output power: 34.6 V × 0.700 A = 24.22 W
| Candidate | Specified current and regulation window | Available output power | Initial decision |
|---|---|---|---|
| A | 700 mA; 24–36 V | 25.2 W | 28.0–34.6 V fits; proceed to tolerance, startup, thermal, and dimming validation |
| B | 700 mA; 30–42 V | 29.4 W | Reject this match: 28.0 V is below the 30 V lower regulation limit |
Candidate B has more rated watts but does not cover the assumed hot, low-voltage condition. Candidate A passes this initial envelope check; that result does not prove startup or low-level dimming performance. Current tolerance may change both LED voltage and maximum power, so repeat the calculation using the supplier’s stated limits before releasing the design.
Increasing a constant-current rating is not the same as adding spare power capacity. A higher setting can drive the LEDs harder. Choose an adjustable driver only when its permitted setting, setting accuracy, and production configuration meet the LED board requirements.
For constant voltage, keep current regulation at the load boundary
For compatible fixed-voltage modules, match the required bus voltage and establish simultaneous demand from the module data. A supply with a higher available current does not force that current into a correctly designed constant-voltage load; its current rating is a capacity limit. Protection behavior, wiring capacity, startup demand, and thermal limits still have to suit the installation.
Parallel branches can simplify a sign layout when each module is designed for the same voltage. Each branch still needs an acceptable voltage at the module terminals. Use the DC voltage-budget method to include the output tolerance, conductor drop, and connection losses. Raising the supply voltage to compensate for the most distant branch must not exceed the limit of a nearby branch.
Bare LED strings in parallel need an intentional current-balancing design. Equal string length alone does not demonstrate equal current. Decide whether current regulation belongs in each branch, in a multichannel driver, or in another documented module architecture.
Validate the operating states that a static calculation misses
Keep the board revision, driver suffix and settings, cable assembly, and input conditions together in the sample record. Check the cold start and thermally stabilized state, then repeat at relevant input extremes. Record current at the LED load and voltage at the driver’s output so a cable change is not mistaken for a regulation change.
If dimming is required, include the minimum intended level and recovery from off. The load voltage and regulation behavior can change as the drive current changes. PWM at a driver’s control input and a controller that switches its power output are different arrangements; use the complete dimming-path compatibility check for the proposed architecture.
Ask for the specified open-load, short-circuit, and reconnection behavior. These conditions affect fixture assembly, servicing, and fault recovery. Do not assume that a driver may be connected to an LED board while energized; use the applicable installation instructions and a qualified test arrangement.
Specify the output mode before comparing supplier quotations
Compare the exact model’s output characteristic, electrical limits, installation instructions, and control interface with the load. Check the complete model and suffix against the fixture’s required output mode, current or voltage, operating window, and control functions. The pictured XLG-100-24 is a 24 V appearance sample and is not being selected for the 700 mA / 28.0–34.6 V worked example.
Put the load’s required mode, current or voltage, operating-voltage envelope, and environmental conditions in the same inquiry. For a constant-current board, attach the voltage limits at the intended current. For a constant-voltage module, attach its allowed input range and demand. That gives engineering and purchasing the same basis for evaluating a sample.
Contact WEHO about an LED-driver candidate. Send the LED module specification or electrical label, input supply and installation temperature. Add the full voltage envelope and control requirements when comparing samples.
Optional project record: Download the LED output-window worksheet (CSV). Use it to record your own inputs and evidence; example entries are illustrative.